How to create your account
Written by the ZipToSale team · Published October 20, 2026 · Last updated October 20, 2026
One account does everything on ZipToSale: buying, selling, or both. Opening it is free, and each setup step is saved as you finish it, so you can stop and come back any time. This guide walks through every screen.
Before you start, have these to hand:
- An email address you can read right away (the confirmation code goes there).
- To buy: your billing and shipping addresses. A resale certificate for the state you receive goods in is optional, and you can add it later.
- To sell: your legal name (your own if you sell as an individual, or your company's), your EIN or state tax ID, addresses, and how you want buyers to pay you.
1. Sign up
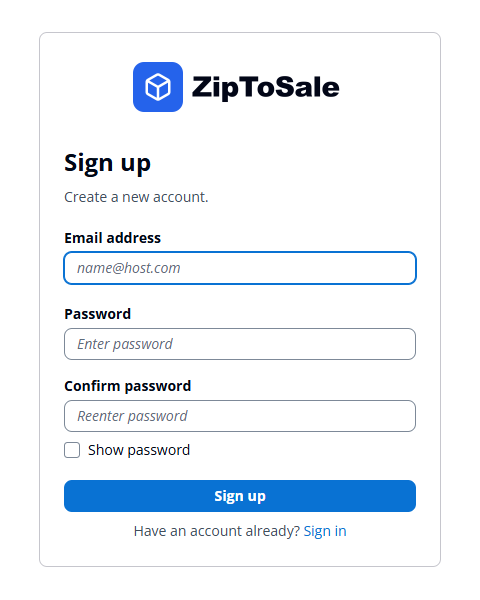
Click Sign up at the top right of any page.

Enter your email address, choose a password and confirm it, then click Sign up.
2. Confirm your email
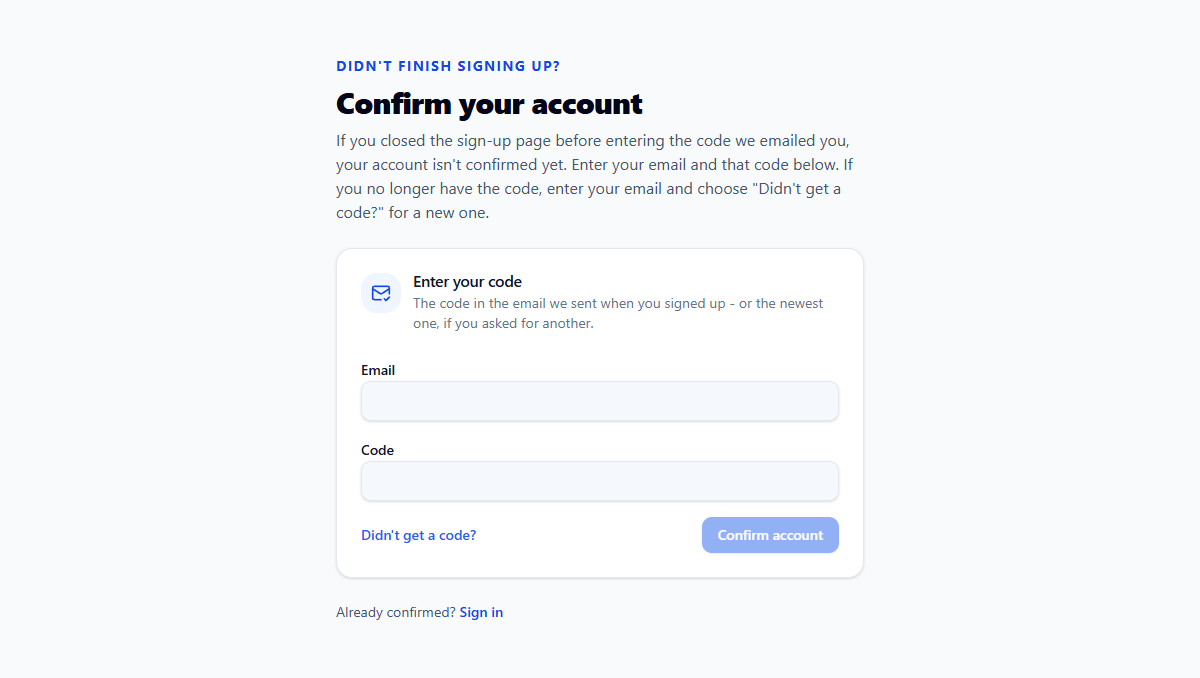
We email you a six-digit code straight away. Enter it on the page that follows the sign-up form and your account is confirmed.
If you closed that page before entering the code, go to /account/confirm, enter your email and the code there. The same page can send you a new code if you no longer have the first one.
Then sign in with the email address and password you chose.
3. Choose what you're here for
The first time you sign in, ZipToSale asks what brings you here. Pick Buy wholesale lots, Sell inventory, or Both. Choosing Both runs the buyer setup first and takes you straight into the seller setup afterwards, with your addresses carried over.
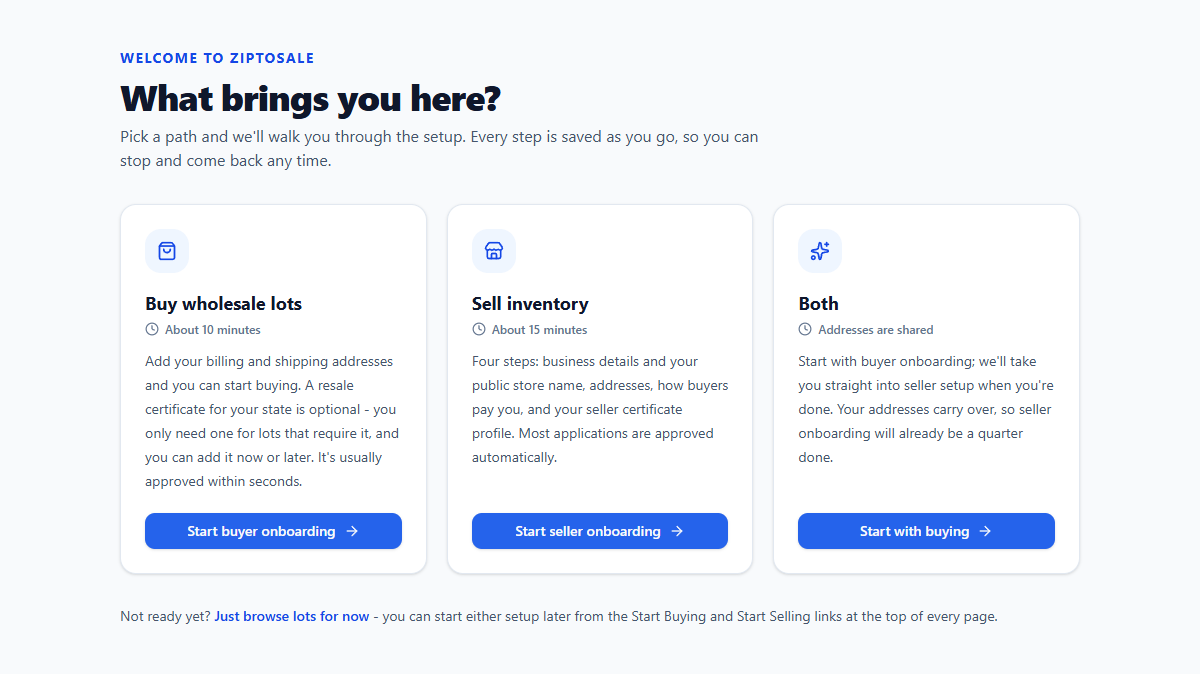
Not ready? Just browse lots for now. You can start either setup later from the Start Buying and Start Selling links at the top of every page.
4. Buyer setup
Two steps, about ten minutes.
- Addresses. At least one billing address and one shipping address. They are also used for your resale certificate in the next step.
- Resale certificate (optional). Add a certificate for the state you receive goods in, or skip it. You only need one for lots that require it, and you can add it any time in Buyer settings. Once it is approved, it goes to every seller you order from automatically. Which document your state uses is on resale certificates by state.
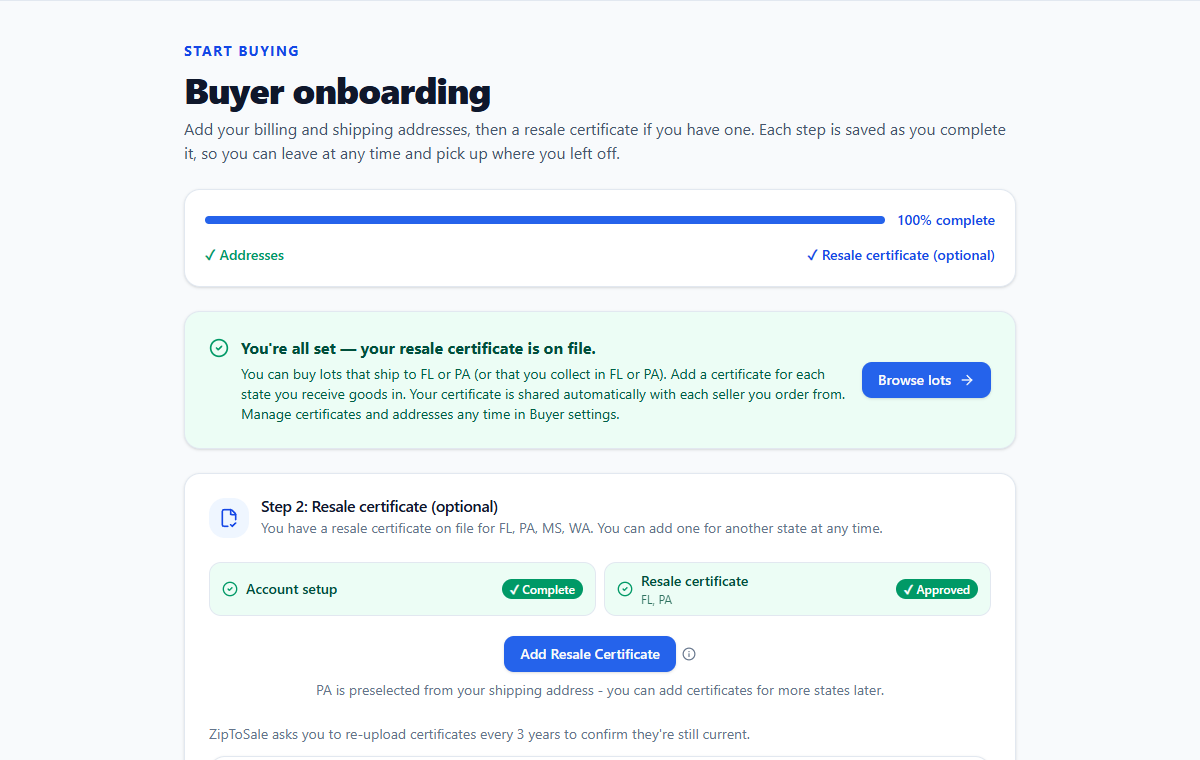
That's it for buying. You can order the moment your addresses are saved.
5. Seller setup
Four steps, about fifteen minutes.
- Business details. Your legal name (your own, or your company's), contact information, and the name of your store on ZipToSale.
- Addresses. At least one billing address and one shipping address. A warehouse address is optional; listings offer it as their ship-from location so you don't type an origin each time.
- Payment methods. Enable and set up at least one way buyers can pay you. ZipToSale never processes payments itself: buyers pay you directly.
- Seller certificate profile. Your legal identity as it should appear on buyers' resale certificates: legal name, any DBA, and your EIN or state tax ID. Submitting this step sends your application for approval.
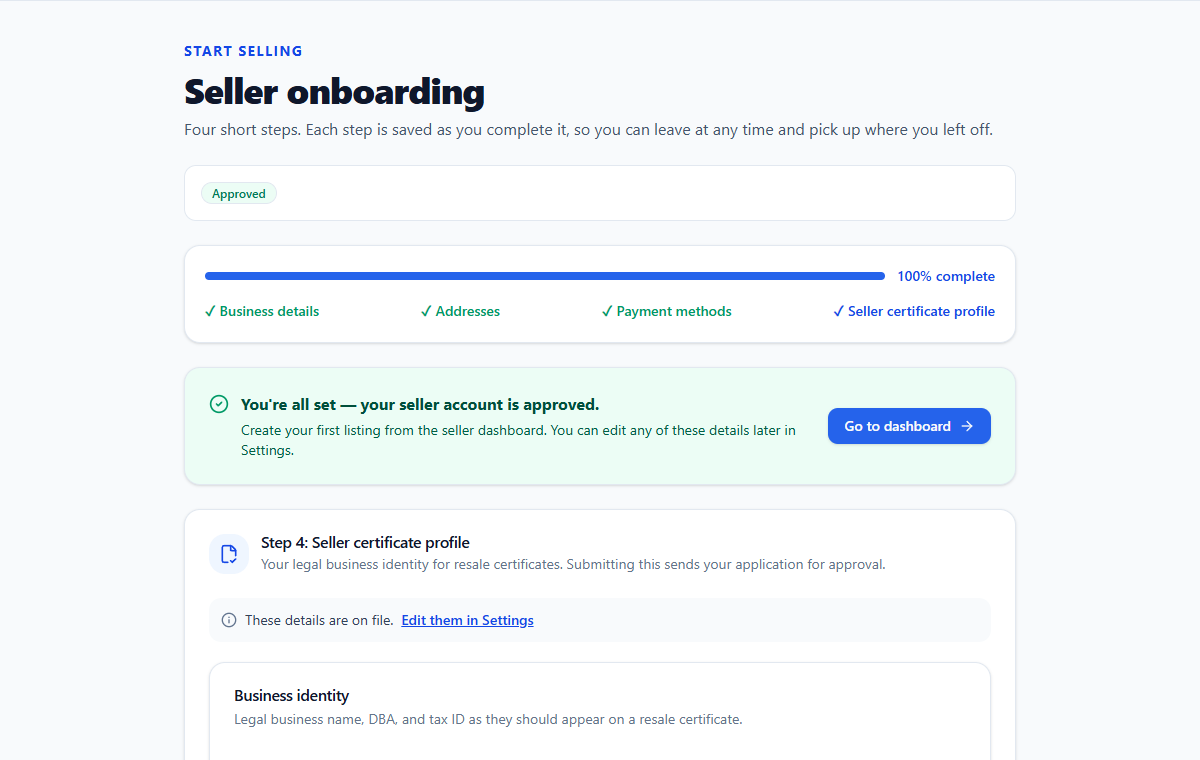
6. Approval
ZipToSale reviews every seller before they can publish a lot. Many applications are approved automatically; the rest are checked by a person. Either way you get an email with the decision, and if something needs fixing the email says what. Until then you can browse and buy like any other account.
What's next
- Buyers: browse lots. Each listing shows the manifest or estimate, the price and the shipping cost before you order, and you can buy now or make an offer. How buying works.
- Sellers: create your first listing from the seller dashboard. How to list a lot in five minutes.
- Everyone: turn on two-step verification under Account › Security.